I’m pretty sure I’ve had to research and stumble through this process several times now, so I might as well document it as most directions suggest either an OOB license or link to stuff that no longer exists.
You’ll need a computer, server that needs a BIOS update (obviously) and a USB thumb drive of an adequate size (16-32GB). In theory these directions could easily be adapted for Linux/Windows, but I did this in Mac OS X 10.15.
Step 1 – Download FreeDOS 1.2
The first thing to do is download FreeDOS 1.2 “Full USB” and expand the zip file. The file you care about is FD12FULL.img.
Step 2 – Flash USB Drive with image
Use Balenda Etcher to flash the drive with the image from Step 1. Once it’s complete Etcher will automatically unmount the drive. Unplug and replug the drive to remount it, we’re not done yet.
Step 3 – Download BIOS Image
Not much to explain here. Find the image for your system, download and unzip it.
Step 4 – Copy BIOS Updater
Copy all the files from the BIOS Updater package to the root directory of the USB drive.
Step 5 – Boot Server
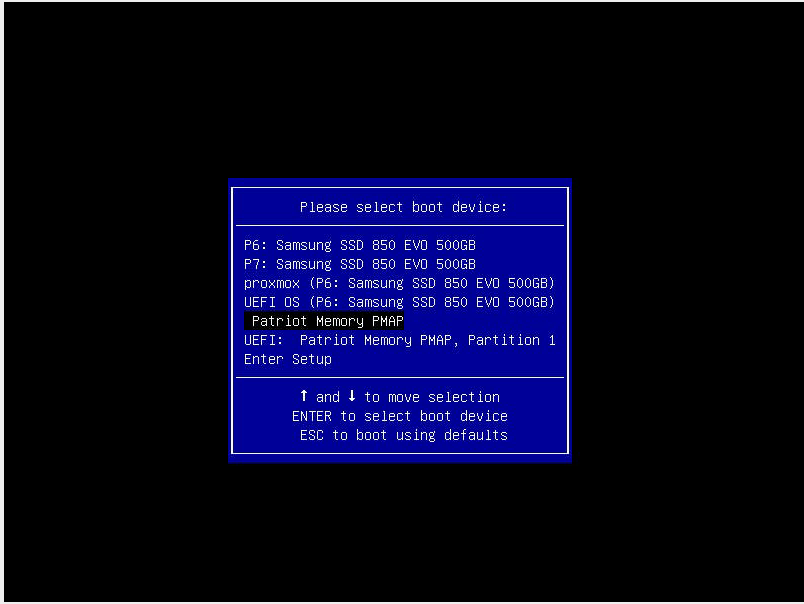
Insert the USB drive and boot the server. Press F11 to invoke boot menu and select the USB drive.

Step 6 – Abort Install
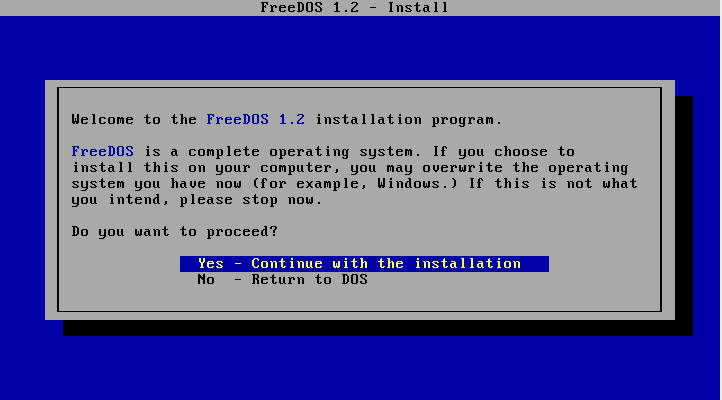
FreeDOS wants to install itself. Select your language, then select “No – Return to DOS” and return to DOS prompt.

Step 7 – Run Install command
Should be in the README for the BIOS update, but will look something like:
FLASH.BAT BIOSname.###
Once it starts, don’t interrupt it.
Step 8 – Restart
Once complete, power down, remove the drive and restart. All done.